Search This Blog

Monday, May 17, 2010

Fruit Salsa

My daughter had a fiesta party to celebrate her 10th birthday. We had the tunes cranking, the pinata filled and the table full of Mexican food. The favorite of the day was a fruit salsa recipe that I received from my friend Marie years ago.

It's a lot of chopping but really good and quite pretty. My kids LOVE the cinnamon tortilla chips too.

Here's what you'll need

1 C finely chopped Strawberries
1 med Orange peeled and finely chopped
3 Kiwi, peeled and finely chopped
8 oz can crushed pineapple drained or 1/2 C fresh
1/2 c finely sliced/chopped green onions ~ 1 bunch
1/4 C each chopped yellow and green pepper
1 T lemon or lime juice
1 fresh jalapeno seeded and chopped ~ optional, I don't use
Combine and chill 6-24 ihours, if chilling for more than 6, leave strawberries out until right before serving. Makes 3 cups

12 8" flour tortillas
1/2 C Sugar
1 t ground cinnamon ~ I used a bit more
1/4 C melted butter

Combine sugar and cinnamon. Brush tortillas with butter and sprinkle with sugar mix. Cut into 8 wedges, spread on baking sheet and bake at 350 for 5-10 minutes until dry and crisp. Cool and store in airtight container for 4 days or 3 weeks in freezer.
I used canned crushed pineapple. Make sure you drain it.
Chopped orange. Throw it in the bowl.
Chopped Kiwi, throw it in the bowl.
Chopped onion, throw it in the bowl.
Chopped peppers, throw them in the bowl.
Chopped Strawberries, throw them in the bowl. Squeeze your lime juice in and give it a stir.
Mmmmmm

Let's make the chips. Brush melted butter on flour tortillas, sprinkle with cinnamon and sugar mix.
Cut into triangles with a pizza cutter.
Bake at 350 for 5-10 minutes until dry and crisp. Do NOT let them cool on the baking sheet, the sugar causes them to stick as they cool.

Wednesday, May 12, 2010

Flower Cupcakes

Claire and I saw a cupcake we thought was very cute in a magazine. Since she has a very nice teacher who lets her bring homemade treats, we thought her birthday would be a great day to test them out.

The turned out VERY cute and were easy. But they were time consuming. It took two of us an hour to assemble, not including cooking time...Max helped us for about 15 minutes cutting marshmallows. I said that next time I would make them with chocolate cake mix instead of the white, Claire said, "Nope, they tasted great just the way they were. Everyone thought so".

What you'll need
1 Cake Mix made according to directions. We made mini cupcakes because she needed 32 for her classroom.

1 can of frosting ~ yes, you heard me correctly, I used CANNED frosting because I was tired and I forgot to warm up a stick of butter. Frost the cupcakes as you go.
1/2 bag mini Marshmallows~each one cut diagonally
Colored Sugar to press marshmallows into.

Cut the marshmallows in half on the diagonal. Press into colored sugar. Max cut the marshmallows. I frosted the cupcakes, Claire assembled. You are not going to want to get too far ahead with the frosting because you need it soft so the marshmallows stick. I'll show you the photos and you'll get the idea.
Mini Cupcake, cooled and ready to frost.
Frost your cupcake.
Cut your marshmallow in half on the diagonal. You're gonna want scissors for this job.
Dip the sticky cut side of the marshmallow in colored sprinkles.
Put the marshmallows around the cupcake like pedals. We made most of them with just an outer ring.
This is one we did in full bloom..much prettier but too much time to do 48 of them like this.
Ready for school.
Another view, aren't they just the cutest things!!

Tuesday, May 11, 2010

Double Digits


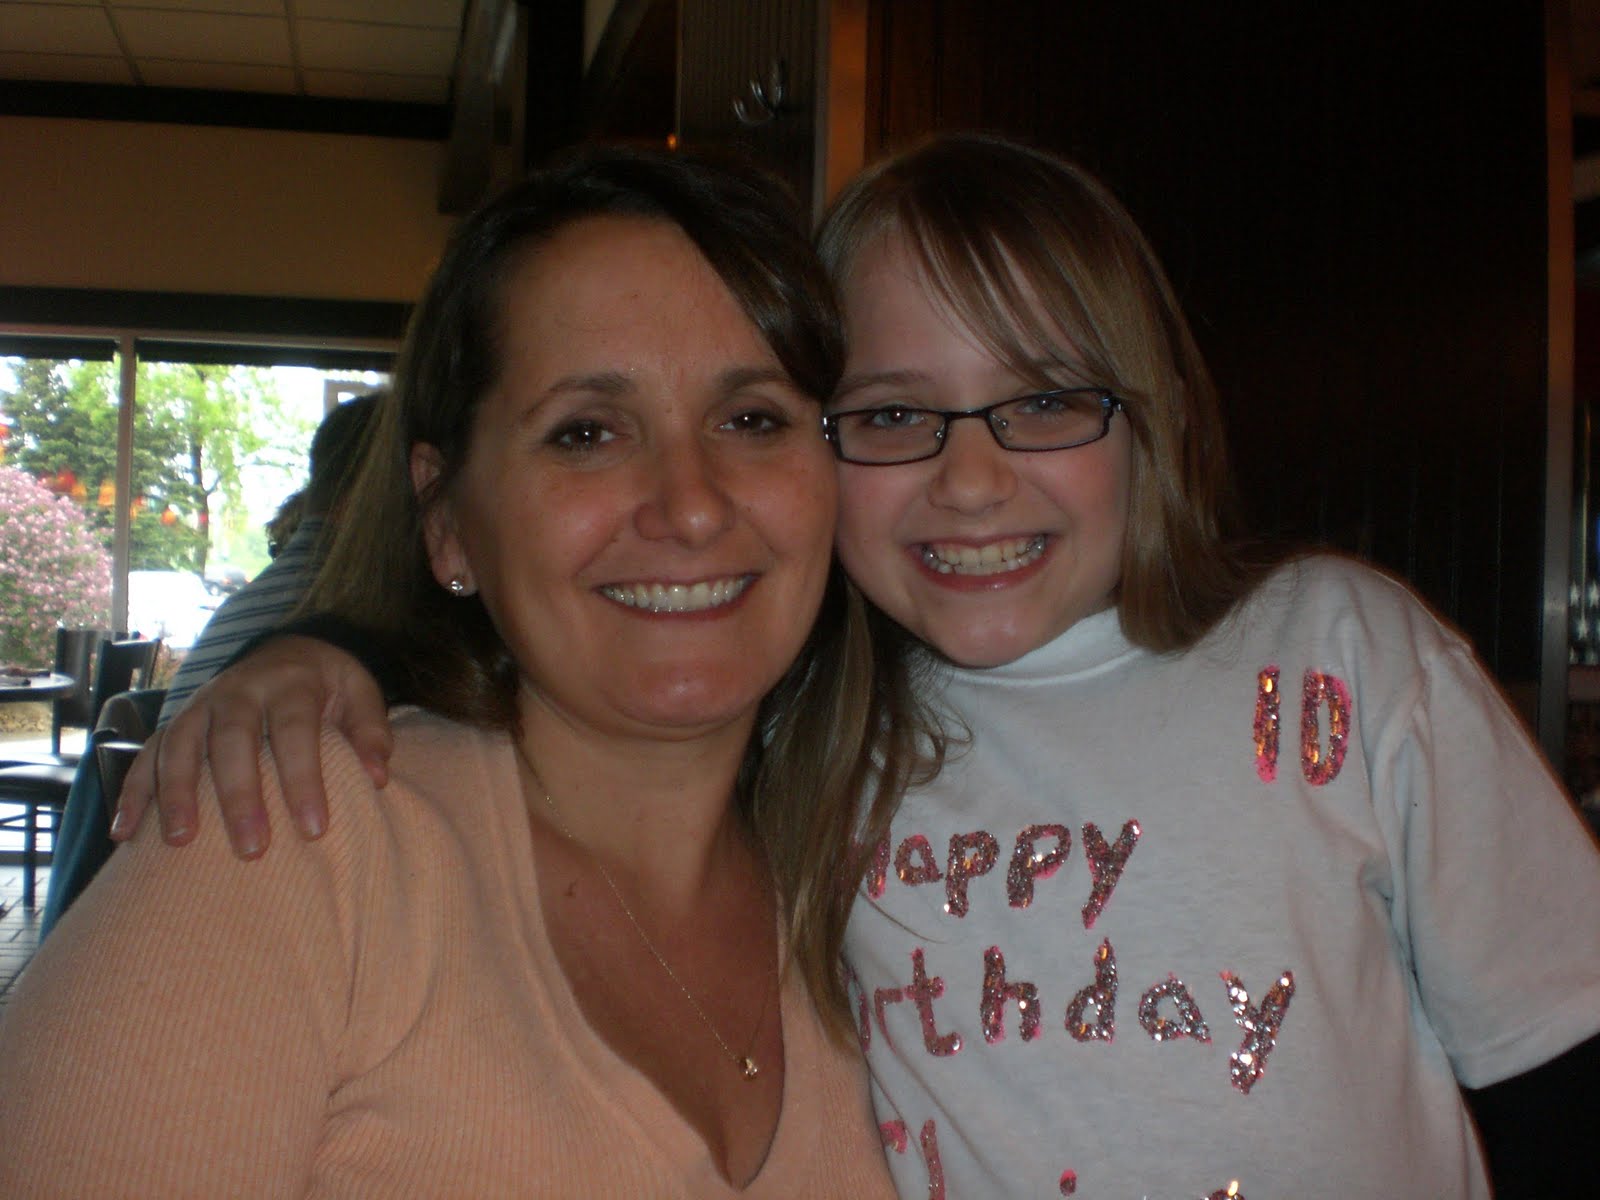
My baby turned 10 today. I was in a car accident when I was 19 weeks pregnant with Claire. A very serious car accident that required us to be in the hospital and montiored for a few days. Every single day I worried about her, not yet knowing it was a "her" (well, I knew in my heart she was a girl but refused to let the ultrasound confirm it). When I met her sweet little face 10 years ago today, I couldn't believe how lucky I was to be her Mommy. Where has the time gone? The baby who got up mulitple times per night so I could give her extra hugs. The tantrum throwing toddler. The little girl who wouldn't where pants on the coldest of days. The smallest one in her class.

She is the child who has always had a mind of her own and never doubted herself for a second. The child who left me standing at the door of her many firsts with tears in my eyes as I watched her confidently enter the room without looking back. She is my girlie girl who loves all things pink but she is also the same kid outside rolling in the grass with her brother and cousins. Always clowning around and making others laugh, she is truly a joy to be around. She is her Daddy's Lil Bit and her Mommy's favorite daughter.

The big FIESTA party she has planned won't be until the weekend...but birthday tradition in our house...today was all about her...Happy Birthday Claire Elizabeth! I love you more than all the stars in the sky!
Her crazy Limbo skills
Just done winning 3rd place.
Silly in the tub.
Self Portrait
Loving her presents
Daddy's girl
With Nana


Mommy's baby...always:)

Sunday, May 9, 2010

Stuffed Pasta Shells

As I've been blogging my recipes, I've notice something. I've been making a LOT of them for over 20 years! I guess that's why they seem so easy to me. I remember making these the first time, I actually used manicotti noodles. That was NOT easy, trying to get the filling in without it coming out the other end. My Mom, who doesn't like cheese and had never made them, was no help. I liked the way they tasted but I didn't think they were worth the work...I've since figured out how to make them easier but once I tried the jumbo shells, I never looked back and my friends thank me for that.

This recipe would be filed under one of my most requested. They are easy, that's why I don't mind making them. And, you can make them up to a couple of days ahead. If you don't want to make homemade sauce, use your favorite jar sauce. Being that I've never purchased a jar of sauce~I don't say that to make you feel bad, I say that because that's how it was growing up at my house and making sauce is almost as easy as opening a jar and it's the flavor I'm used to.

Spaghetti Sauce
1 lb ground beef or turkey (I use turkey most of the time)
1/2 medium onion diced
3-4 cloves diced garlic
6 oz can tomato paste
16 oz tomato sauce ~ you can use 2 small or 1 large can
1 can diced tomatoes ~ I used petite cut
12 oz water
3 t Italian Seasoning
1 t Basil
1 t Oregano
2 bay leaves
1 t Cayenne pepper or 1/2 C of your favorite salsa if you want it to be spicy

Brown meat with onions and garlic. Season with salt and pepper to taste. If you're usually turkey, put 1 t Italian Seasoning in with the meat. Throw in rest of ingredients and simmer on low for a little over an hour. Remove bay leaves. You can leave meat out if you want to make these vegetarian.

Bring a large pot of salted water to boil. Dump in a box of Large Shells and cook for about 8-10 minutes. You don't want them to firm but you DON'T want them cooked either or your end result will be a bit mushy. Drain shells and cool.

Mix together
1 beaten Egg
15 oz container Ricotta Cheese ~ I use low fat

Mix in
1 C shredded Mozzarella Cheese
1/2 C Fresh grated Parmesan ~ you can use the stuff in the green can, I just don't
1/2 t Salt
1 t Pepper
1 t Garlic Powder
1/2 t Cayenne Pepper
1 t Italian Seasoning
You can be done here OR you can add 1 C chopped fresh Spinach or 1 C defrosted, drained and squeezed of all liquid Spinach.

Spray 13x9 pan with cooking spray. Put a ladle to two ladles of meat sauce in the bottom of the pan, you don't want too much, just a thin layer of sauce. Take a shell and put a spoonful of cheese mixture inside. It can be coming out a little bit. Put sideways or face up, doesn't matter, just be consistent and don't do open face down or you'll lose all your filling in the cooking process. Keep filling up your shells until the pan is full. I usually have a few shells left over. Top with sauce, don't be shy, make sure the shells are covered. Top with 1 C of mozzarella and 1/2 C fresh Parmesan. Put in 350 degree oven for 1 hour. Serve. If you want, these can be made ahead, just take them out of the fridge for about an hour before baking and adjust cooking time for about another 30 minutes.

Mix ricotta with a beaten egg.
Mix in your salt, pepper, garlic powder, Italian seasoning and cayenne.
Handful of fresh spinach.
Chop your spinach.
Mix in your spinach.
Next mix in your mozzarella and parmesan.
Put some sauce down in your sprayed pan.
Here is what the Shell box looks like. You will cook these in salted boiling water 8-10 minutes
Give the shell a squeeze to open.
Stuff your shell.
We're going to pretend this is a 13x9 because that is what I usually make. This time I made two smaller pans and passed one on to a friend for dinner.
Top with sauce.
Top with cheese.
Dinner is served!
Saturday, May 1, 2010

Salsa Chicken Salad

Last Salsa Chicken recipe. A quick salad that hits the spot.

Bag of Romaine or favorite lettuce
Chopped Tomato
Defrost Corn
Black Beans ~ rinsed
Salsa Chicken
Slice of lime

Lay out your lettuce, top with tomatoes, Corn, Black Beans, Salsa chicken. Squeeze a lime slice over the top. Top with

1/4 C Sour Cream
1/3 C Salsa
Mix together and spooon over the top, you'll have enough for one to two salads depending on size of salad and how much dressing you like. YUM!
This is how big my lime slice was.

Chicken Barley Chili

My kids won't eat this, shocker I know;) My nephew loves it though but he eats stuff that's mixed together. It's a quick soup that freezes well for a painless lunch or dinner and friends at work are always happy to get a bowl. Guess what you get to use...yep, Salsa Chicken.

The recipe is on the back of the Barley box, I only altered it a bit. Who knew that those recipes on the box could be so tasty:)

1 can diced Tomatoes ~ I've used a couple of fresh chopped up too
16 oz jar Salsa ~ I use Medium Thick and Chunky
15 oz can of Black Beans ~ rinsed
1 C Frozen Corn
5 C Water
2 Chicken Bouillon Cubes
1 C Quaker Quick Barley
1 T Chili Powder
1 t Cumin
3 C Salsa shredded Chicken ~ you can use any type of chicken

In pot, combine the ingredients. Bring to boil over high heat. Cover and reduce heat to a simmer for 25 minutes or until Barley is tender, stirring occasionally. Serve!


Quesadilla

Did you realize how EASY it was to make quesadillas?? No need for one of those special things to make them. You need some tortillas, spray butter and a pan big enough to fit the tortilla. Presto, chango...you have dinner and the kids think it's more exciting than a grilled cheese.

Package of Tortillas
Package Favorite Cheese~I use a Colby Jack mix usually
Spray Butter
Shredded Salsa Chicken

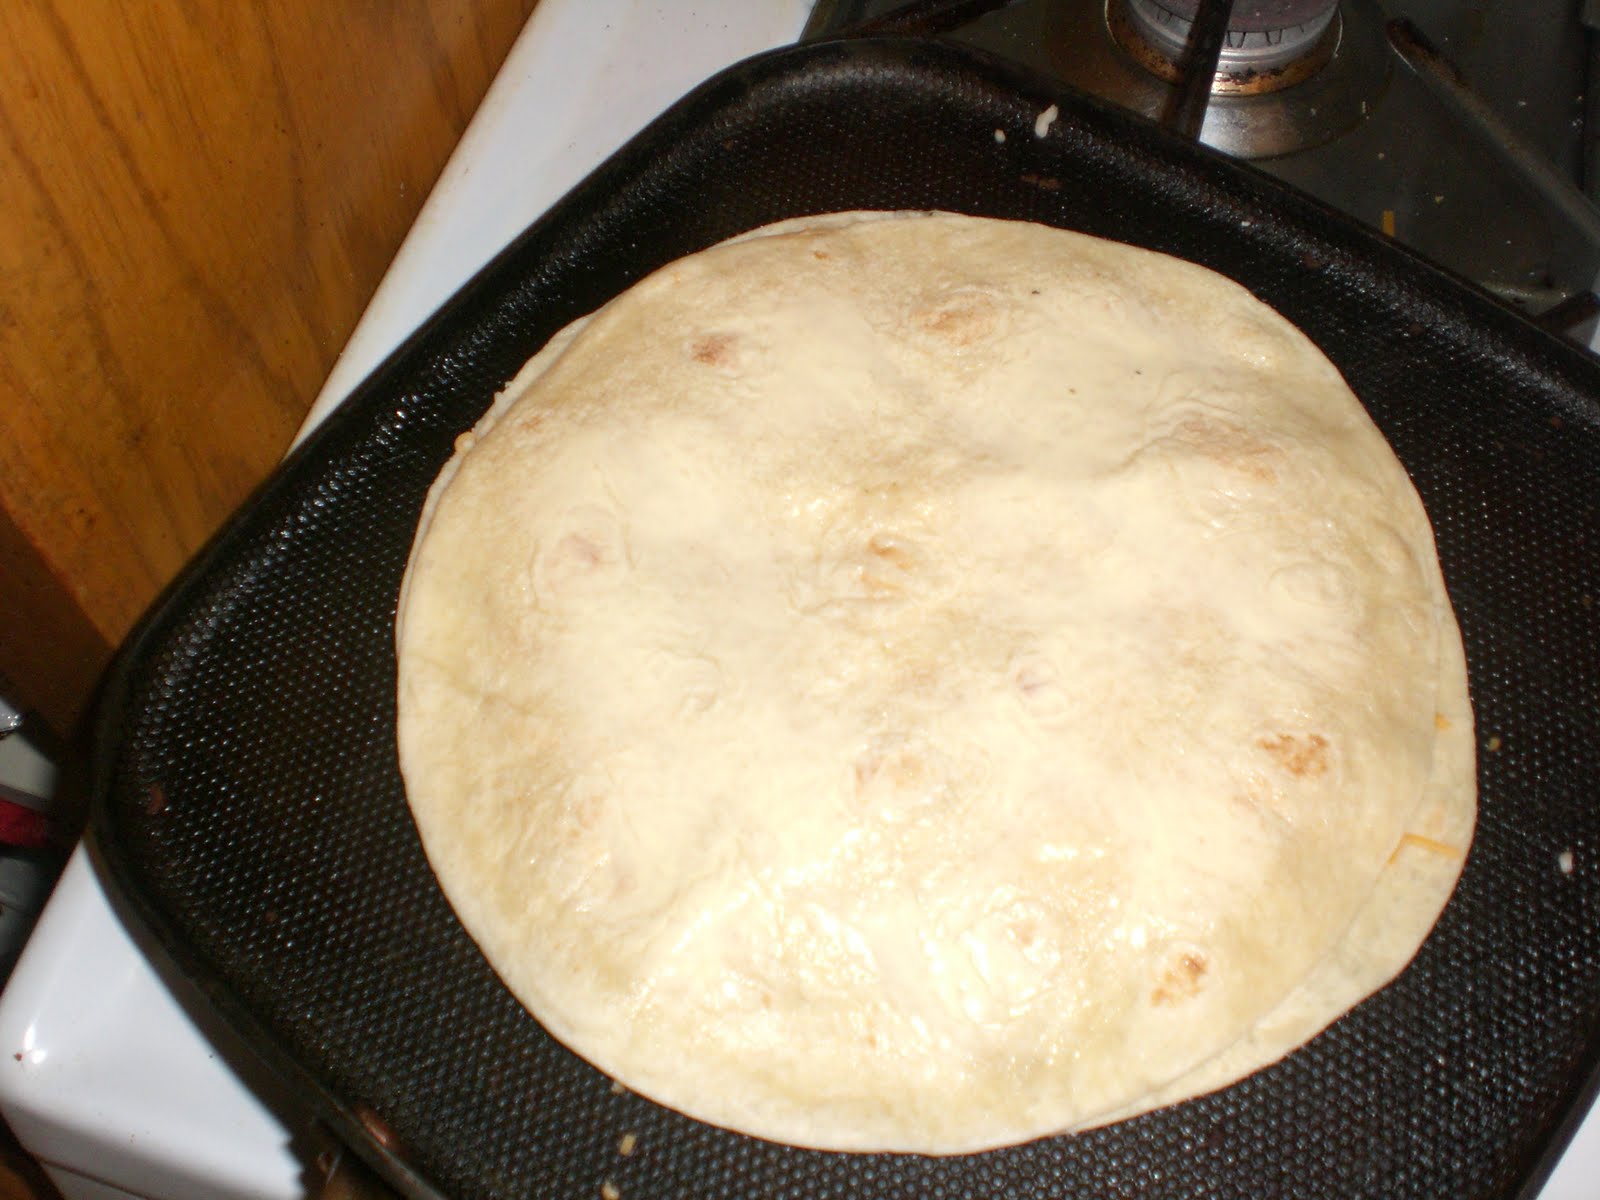
Spray the tortilla with spray butter. Put on pan sprayed side down, top with cheese. Turn on your heat, about a 7. Spray another tortilla and put spray side up. Cook for about 1 or 2 minutes until golden. Flip, other side takes 1/2 the time. Remove, cut with a pizza cutter and serve with salsa and sour cream.

Butter side down.
Put cheese all over, make sure it's close to edges. Add some shredded salsa chicken. Turn your heat on to about a 7
Top with tortilla, sprayed side up.
Flip and cook other side. I accidentally deleted the photo of the finished project, I'll take one the next time I make them but you get the idea.